


Looking for a Heroku replacement? AWS Elastic Beanstalk is a viable alternative and works great once you get the hang of it, even though it lacks some of the creature comforts of Heroku.
One thing to consider is that you’ll need to set up your own CI/CD pipeline with Elastic Beanstalk. While it's not as easy as installing a GitHub app, creating your own CI/CD pipeline allows for more customization, which opens up a lot of possibilities. Building your CI/CD pipeline in a blue/green deployment pattern will help to keep downtime to a minimum when deploying updates.
The AWS docs describe how to do this using the Elastic Beanstalk web UI, but the process should be automated, ideally, so that it automatically deploys to a staging environment, and then switches the production URL over to the new deployment once it is ready. Thankfully, it's possible to automate the process with GitHub Actions, provided that we do some legwork to set things up first.
Game Plan
To do this, we'll need to determine which environment is the staging environment, and deploy it there first. Once the new version is deployed and it's ready to go live, we can then switch over the production URL to the staging environment.
Here's a high-level overview of the example CI/CD pipeline:
GitHub Action gets the staging environment's name.
GH Action deploys the app to the staging environment.
At this point, you could run end-to-end tests on the staging deployment before promoting to production.
If the deployment originated from the main branch, GH Action deploys a production version of the app to the staging environment, then switches the CNAMEs between the staging and production environments.
One thing to be mindful of is database migrations. Since we don't want to switch over the production URL until the server is ready, we'll need to hold off on promoting the environment to production until any migrations have succeeded.
You'll want to make it so that if there are any errors with the database migrations, the app will not start and the deployment will fail, which will prevent the environment from being promoted to production. The database should run on a separate managed database service that instances in the environment can connect to via a DATABASE_URL.
Creating the Environments
Fork the example repo and enable GitHub Actions from the Actions tab of your forked repository, then clone the repo down to your local machine. Create a new bucket in S3, and upload two files for staging and production environment variables:
touch staging.env
touch production.env
aws s3 cp staging.env s3://your-s3-bucket
aws s3 cp production.env s3://your-s3-bucket
You can then use the EB CLI to initialize your Elastic Beanstalk application and create two single-instance environments with the EB sample app:
eb init APP_NAME

eb create BLUE_ENV --cname PRODUCTION_CNAME --envvars CONFIG_S3_BUCKET=your-s3-bucket --sample --single

eb create GREEN_ENV --cname STAGING_CNAME --envvars CONFIG_S3_BUCKET=your-s3-bucket --sample --single
eb init will ask you a series of questions about your application, including which platform to use. The example uses Docker, so select that to follow along.
You can use eb create to create the two environments, using the sample app with a single instance (no load balancer) to get started. The environment names and CNAMEs are represented by the values of BLUE_ENV & GREEN_ENV, and PRODUCTION_CNAME & STAGING_CNAME, respectively.
Once everything is running, create a saved configuration template that get-target-env.js will use to recreate the staging environment when it is in an unhealthy state. You can do this either through the EB web UI or eb config save. With Elastic Beanstalk, it's sometimes necessary to terminate an unhealthy environment, so it's helpful to be able to easily create a new one with the same configuration.
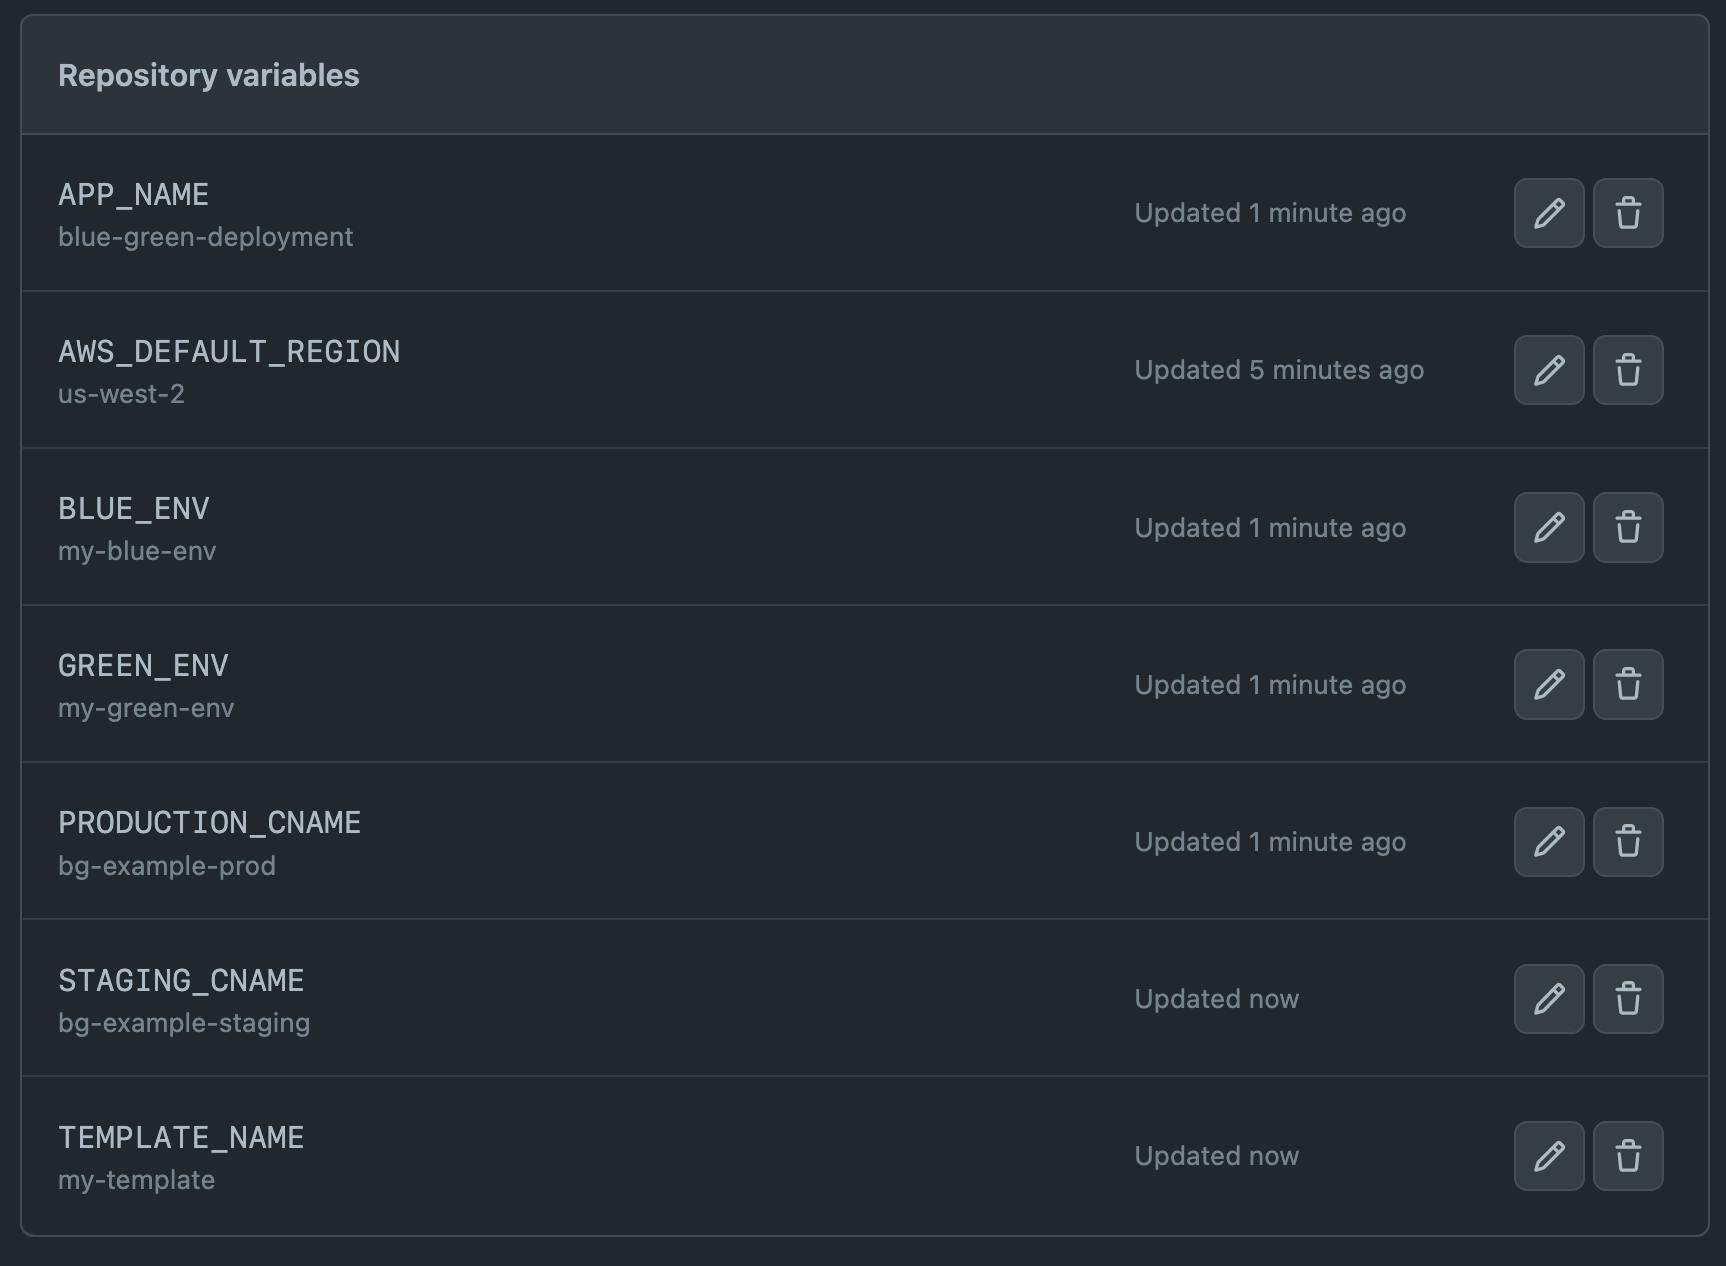
Include the above mentioned values in your GitHub repository variables:
Environment Variables and IAM
The example blue/green deployment uses environment variables stored in S3, making it so that the appropriate staging or production environment variables can be correctly injected.
The staging and production .env files we created earlier and copied to S3 should be unambiguously named staging.env and production.env. The EB IAM instance profile, e.g. aws-elasticbeanstalk-ec2-role, should have the appropriate access privileges to read the environment variables during deployment. Attaching the AmazonS3ReadOnlyAccess policy to the role will allow it to access the environment variables in S3.
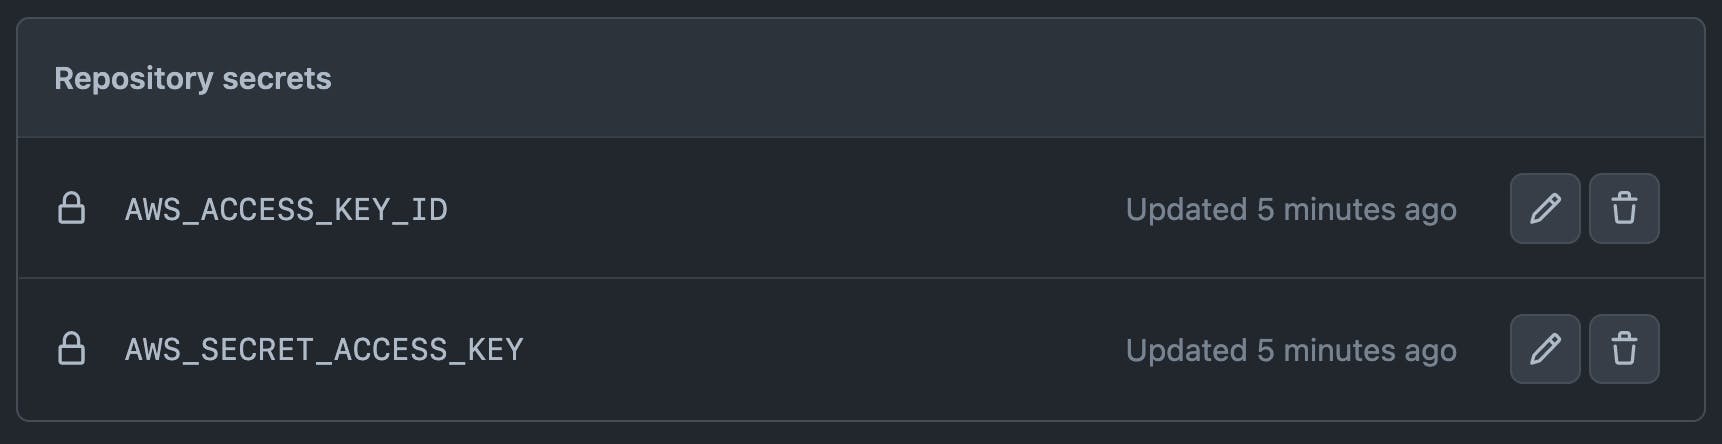
You'll also need to create an IAM user to provide the AWS_ACCESS_KEY_ID and AWS_SECRET_ACCESS_KEY values, which will be used to deploy to Elastic Beanstalk from GitHub Actions via repository secrets. Attaching the AdministratorAccess-AWSElasticBeanstalk policy to the user will provide the necessary privileges.
Running the Actions
Once your blue/green environments are running and everything is configured properly, you can deploy a new application version from GitHub Actions by pushing a new commit to the main branch. This will deploy a staging version of the app first, which would be a good time to run tests before deploying the production version. Once the production version is deployed, the GitHub Actions workflow will switch the CNAMEs, so that the production URL points to the new production deployment.
Conclusion
And there you have it. AWS Elastic Beanstalk is a powerful tool for deploying and managing web applications, but it does have a steeper learning curve compared to Heroku and requires some additional setup and configuration. By creating a CI/CD pipeline with GitHub Actions, you can automate the deployment process and minimize downtime when updating your app, ensuring your production environment is always stable and available to users.